

|
Woolley's Wonderbrush gives you the power to change your mind! In this demonstration, I'm going to show you how I set about adding a smoking chimney to this cottage.
|

|
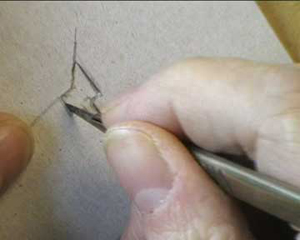
I begin by drawing out the chimney onto a piece of light cardboard. Positioning the card alongside where the chimney is going to go, like this, allows you to get the correct relative dimensions.
|
|
I then carefully cut out the chimney shape using a sharp craft-knife or scalpel over a sheet of MDF.
|
|
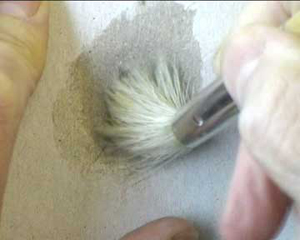
Place the cut-out in position on the watercolour and scrub with the Wonderbrush.
Note: The Wonderbrush should be damp with clean water.
|

|
On a small template like this, you may need to alternate between 'scrubbing' and 'dabbing' to successfully get right into every nook and cranny (also, your cardboard musn't be too flimsey, or it will quickly disintegrate).
|
|
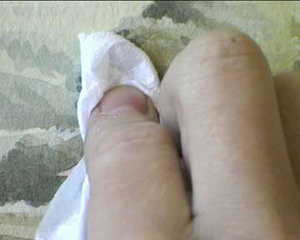
Always dab the area dry with a piece of tissue, followed by a blast from a hairdrier.
|

|
The new chimney highlight is ready for painting on.
|
|
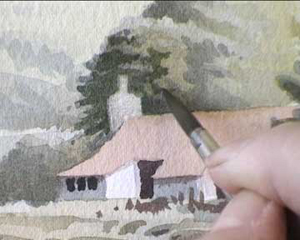
It might be necessary, as in this example, to re-paint the surrounding area in order to accentuate the new highlight. Remember, tones are relative - in watercolour, we make light tones look even lighter by darkening any adjacent tones.
|

|
Compare this with the last but one image - the chimney has been made to look far more prominent (and sharper) with the darkening of it's neighbouring tones.
|

|
Here, I've added a light grey tone to the edge of the chimney to give it shape, and I'm colouring the chimney pot with a mix of Cadmium Yellow and Burnt Umber.
|

|
To create smoke, begin by tearing out an 'S'-shape in a piece of light card.
|

|
By tearing it, the edges will be a lot rougher and more natural-looking.
|

|
Place the two pieces of card into position, as shown.
|

|
Scrub with the Wonderbrush (dampened with clean water)through the cardboard 'mask'.
|

|
It's a good idea to vary the pressure of your scrubbing motion, to make the resulting highlight look more 'smoke-like'.
|

|
The finished painting, complete with chimney and smoke.
Click Here to see a further example of smoke created by Woolley's Wonderbrush.
|